 how-to
Preventing Recurring Plumbing Pipe Leaks
Table of Contents
- Why the Same Pipe Keeps Leaking: Root Causes Most Homeowners Miss
- Common Causes of Pipe Leaks and How to Spot Them Early
- How to Prevent Plumbing Leaks with a Routine Inspection Schedule
- Why PVC Pipes Keep Leaking and What to Do Differently
- How to Stop a Pipe Leak Temporarily Before Help Arrives
- Water Pressure, Insulation, and Winterizing: Preventing Recurring Pipe Leaks Year-Round
- When to Call a Licensed Plumber for a Recurring Pipe Leak
- Frequently Asked Questions
Last Updated: October 9, 2026
Why the Same Pipe Keeps Leaking: Root Causes Most Homeowners Miss
Preventing recurring plumbing pipe leaks starts with understanding why the first repair failed. A leak that returns in the same spot means the patch fixed the symptom, not the cause.
Why? Because water finds the weakest point in your plumbing system. If the pipe material is degrading or the water pressure is too high, sealing one joint just pushes the failure to the next one.
The fix is to diagnose the actual cause. Common culprits include:
- Corrosion eating through metal from the inside
- Water pressure spikes stressing every joint
- Poorly soldered or loose connections
When a Patch Is Not a Fix
A patch is a bandage. It buys time but changes nothing about the conditions that caused the leak. If the same pipe keeps springing leaks, the pipe itself is often at the end of its life. Replacing a short section or upgrading the material usually costs less than repeated emergency repairs and the water damage they leave behind.
Common Causes of Pipe Leaks and How to Spot Them Early
The most common causes of pipe leaks are corrosion, high water pressure, failing joints, and freeze damage. Spotting them early means checking visible pipes for moisture, rust, and small cracks before they burst.
Corrosion turns copper green or brown and leaves a rough texture. Pressure spikes hammer joints every time a valve closes. Joint failures show up as mineral crust around fittings.
Walk your basement, crawlspace, and cabinets monthly. Look for:
- Damp spots or water stains on walls and floors
- White or green crust around pipe joints and fittings
- Rust, pitting, or discoloration on metal pipes
Corrosion, Pressure Spikes, and Joint Failures
Copper and galvanized steel wear out over decades. Corrosion-resistant pipes like PEX and CPVC handle water chemistry better and resist the pitting that ruins metal. If your home still runs on old galvanized lines, recurring leaks signal the whole system is due for an upgrade.
Pressure spikes are quieter but just as damaging. A failing pressure-reducing valve lets city water hammer your pipes. A simple gauge test tells you where you stand.
How to Prevent Plumbing Leaks with a Routine Inspection Schedule
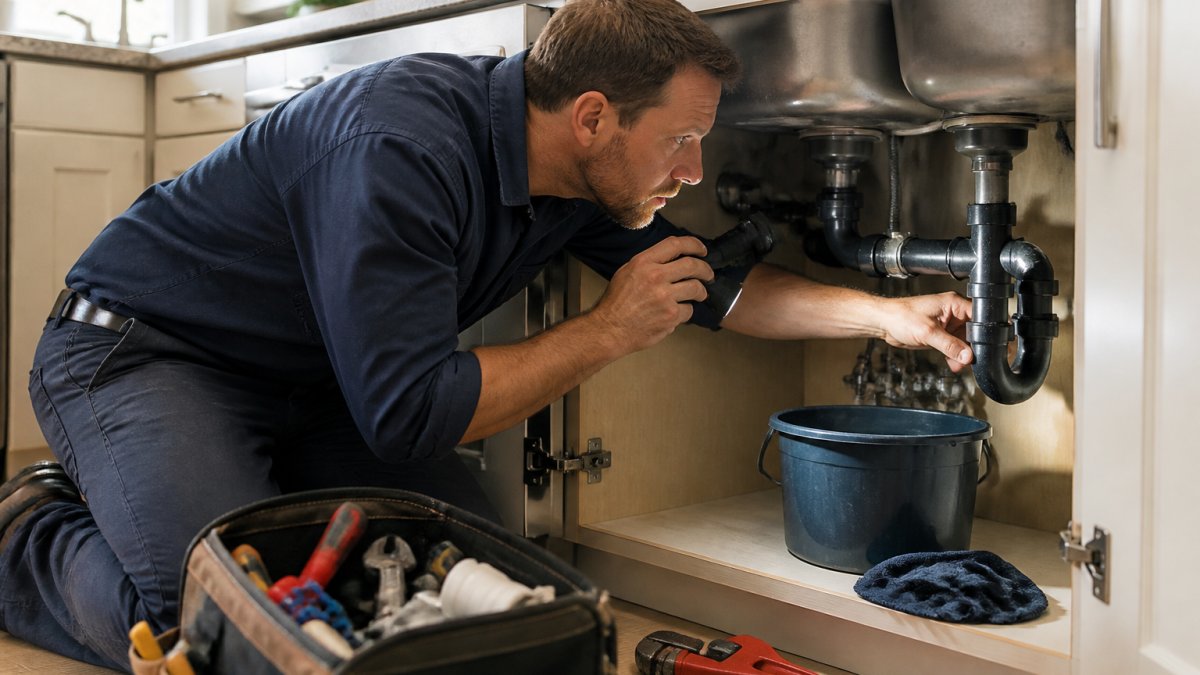
You prevent plumbing leaks by inspecting on a schedule instead of waiting for a drip. A written routine catches small problems while they are cheap to fix.
What to Measure, Not Just Look At
Three tools turn a walkthrough into a real inspection:
- A hose-bib pressure gauge. Screws onto any outdoor spigot or laundry tap. Static pressure should sit between 40 and 60 psi; above 80 psi means a pressure-reducing valve is failing or missing, and every joint in the house is being hammered.
- A pin-type or pinless moisture meter. Reads moisture percentage in drywall, wood, and subfloor. Dry materials read in the low single digits; teens or higher near a pipe run points to a slow leak behind the surface.
- A phone camera. Photograph the same fittings, shutoff valves, and water heater connections on every annual pass. Side-by-side comparison beats memory.
Monthly, Seasonal, and Annual Tasks
| Frequency | Task | What to Measure or Look For |
|---|---|---|
| Monthly | Check under every sink, around the water heater, and behind the washing machine | Moisture meter reading, drips, crust on fittings, bulging supply hoses |
| Monthly | Run each shutoff valve a quarter turn and back | Stiffness, weeping at the packing nut, corrosion on the stem |
| Seasonally | Test static water pressure at a hose bib | Readings above 80 psi; note whether pressure climbs overnight |
| Seasonally | Flush the water heater and test the T&P valve | Rumbling, sediment, or a valve that will not reseat |
| Annually | Inspect all exposed pipe, joints, and supports | Green or white crust, pitting, sagging runs, loose straps |
| Annually | Photograph pipe runs and fittings | Compare against last year's photos for new corrosion or moisture |
| Before winter | Insulate exposed pipe and winterize outdoor lines | Gaps in insulation, exposed pipe in attics, crawlspaces, garages |
How to Read the Results
A single high reading is a data point; a pattern is a diagnosis:
- Pressure creeps up overnight. Thermal expansion from the water heater is pushing past a failed or missing expansion tank. That cycling cracks solder joints and fitting threads.
- Moisture meter reads high but the pipe looks dry. The leak is behind the wall or under the fitting, wicking through the substrate. Cut a small access hole rather than waiting for a stain.
- Crust reappears on the same joint within weeks. The joint is moving, not just weeping. Support the pipe within 12 inches of the fitting on both sides.
Turning the Schedule into Prevention
A schedule only prevents recurring leaks if it produces action. Any reading outside the normal range should trigger a response: adjust or replace the pressure-reducing valve, replace a failing supply hose, add pipe support, or call a licensed plumber for anything inside a wall, under a slab, or on the main line. The schedule is the early-warning system; the response stops the same pipe from leaking a third time.
Why PVC Pipes Keep Leaking and What to Do Differently
PVC pipes keep leaking because the joints, not the pipe, usually fail. PVC is joined with solvent cement, and a rushed or dirty glue-up leaves a weak seal that weeps under pressure. PVC also expands and contracts with temperature, loosening fittings over time. But the reason a leak keeps coming back often depends on which material and location you are dealing with.
Match the Fix to the Material
- Copper. Fails at soldered joints and from pitting caused by aggressive water chemistry or high velocity. A recurring pinhole leak usually means the water is eating the pipe from the inside; replacing the section with PEX or CPVC often outlasts another solder repair.
- Galvanized steel. Corrodes from the inside out. By the time you see a leak, the interior is often nearly closed with rust. Repeated repairs signal the whole run is due for replacement.
- PEX. Fails at crimp rings, clamp rings, and push-to-connect fittings, not in the tubing itself. A recurring leak usually means the ring was set with the wrong tool or the fitting was not fully inserted.
Match the Fix to the Location
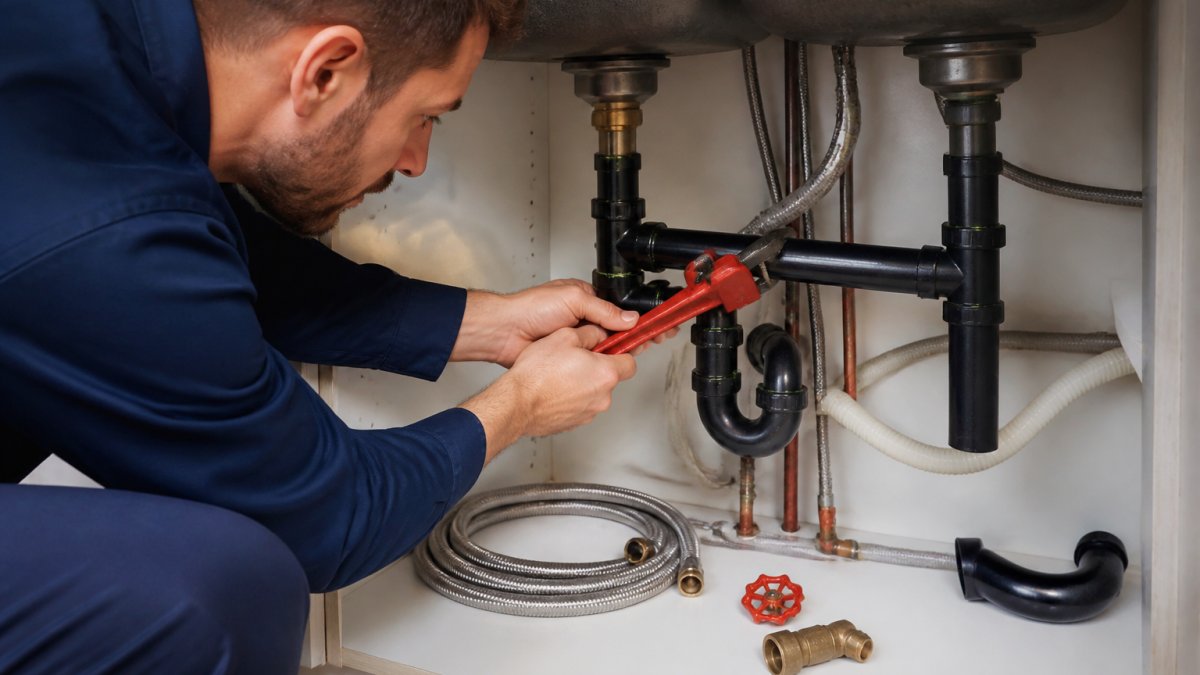
- Under sinks and behind appliances. Vibration and thermal cycling loosen compression fittings. Add a strain-relief loop and check the fitting after any appliance moves.
- Laundry connections. Hoses see full house pressure every time the valve opens. Replace rubber hoses with braided stainless and shut the valves when you leave for more than a few days.
- Crawl spaces and attics. Unheated, humid, and often unsupported. Add pipe insulation, support runs every few feet, and keep metal off concrete or soil.
When Repeated Repairs Mean Replace
A single failed joint is a repair. A pattern is a replacement decision:
- Three or more leaks on the same run within a year.
- Visible pitting, flaking, or thinning wall on the pipe itself.
- A patch that holds for weeks and then weeps again in the same spot.
When any apply, replacing the affected run with a corrosion-resistant material is usually cheaper over the next decade than another round of emergency repairs and water damage.
Better Installation Beats More Glue
The fix for a failing PVC joint is not more cement. Cut ends square, clean with primer, apply cement to both surfaces, and let joints cure fully before pressurizing. Where pipes pass through walls or joists, add support to stop movement. If a PVC joint keeps failing, the pipe may be undersized or over-pressurized, a system problem, not a glue problem.
Tap to easily schedule service today! →
How to Stop a Pipe Leak Temporarily Before Help Arrives
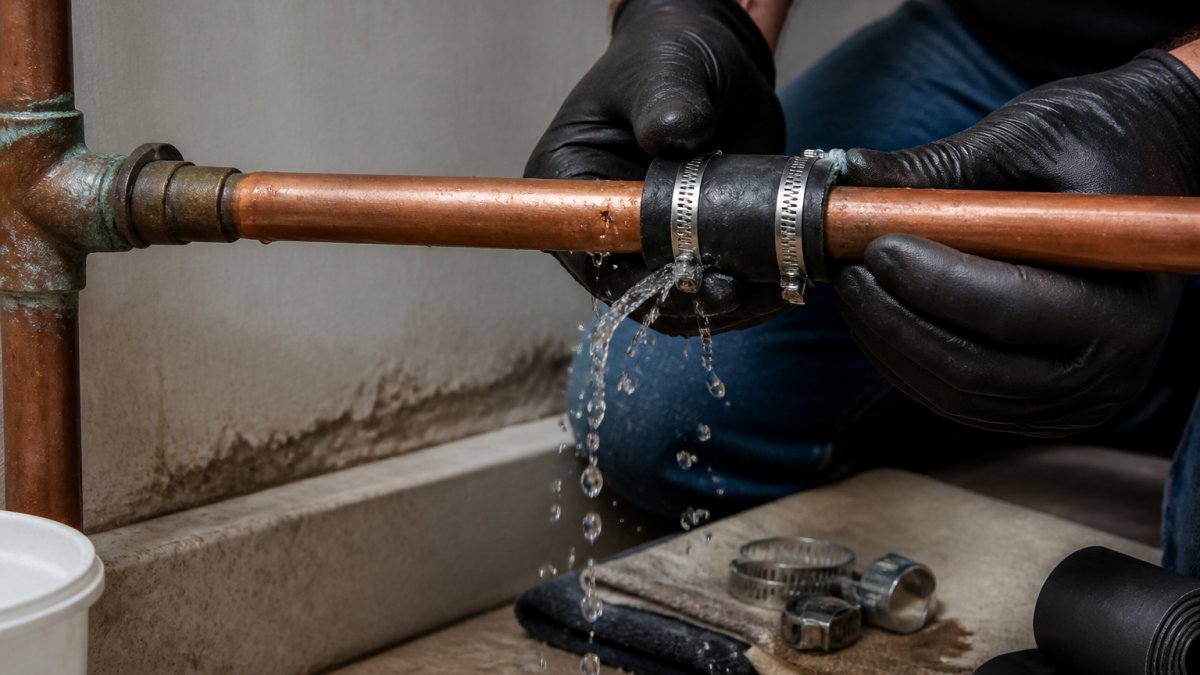
You stop a pipe leak temporarily by shutting off the water, containing the flow, and applying a wrap or clamp rated for plumbing. This buys time. It is not a permanent repair.
Follow these steps in order:
- Close the main shutoff valve or the nearest fixture valve.
- Open a low faucet to drain remaining water and relieve pressure.
- Dry the pipe, then wrap it with plumber's tape or a rubber patch and clamp.
- Place a bucket under the leak and move valuables clear.
- Call a licensed plumber for a permanent fix.
Shutoff, Containment, and Safe DIY Limits
Know where your main shutoff valve is before you need it. Test it twice a year so it does not seize. Duct tape and hose clamps are emergency tools only; they fail under sustained pressure.
Safe DIY work stops at tightening a packing nut or replacing a faucet washer. Anything inside a wall, under a slab, or on the main line belongs to a pro.
Water Pressure, Insulation, and Winterizing: Preventing Recurring Pipe Leaks Year-Round
Water pressure, insulation, and winterizing are the three controls that keep leaks from coming back.
High pressure stresses every joint in the system.
Frozen pipes are the leading cause of winter bursts. Insulate pipes in unheated spaces like garages, crawlspaces, and attics.
Root intrusion is another slow leak source. Tree roots find tiny cracks in buried lines and widen them over years.
When to Call a Licensed Plumber for a Recurring Pipe Leak
Call a licensed plumber when a leak returns after a repair, when you cannot find the source, or when water pressure stays high after adjustments.
The U.S. Environmental Protection Agency's WaterSense program notes that household leaks waste significant water over time, which is one more reason to fix the cause, not just the drip. The CDC guidance on household water safety also stresses keeping your water supply clean and free of contamination from standing leaks.
For deeper technical standards, the Uniform Plumbing Code overview from the International Association of Plumbing and Mechanical Officials sets the benchmarks licensed pros follow for pipe material, pressure, and installation.
At Rich’s Plumbing Heating & Air Conditioning, our team is family owned and operated, licensed, bonded, and insured, with a 60-minute response time for urgent calls.
Frequently Asked Questions
What are some temporary ways to stop a leaking pipe?
For a slow drip, wrap plumber's tape around the leaking joint or use a pipe repair clamp for a pinhole leak. For a small crack, epoxy putty can hold until a plumber arrives. Always shut off the main shutoff valve first, then open a low faucet to drain remaining water. Duct tape works only as a last resort and will not hold under pressure. These are short-term fixes, not repairs. Call a licensed plumber within 24 hours because temporary patches fail, and recurring pipe leaks can cause hidden water damage behind walls and floors.
Why does my PVC pipe keep leaking after I repair it?
PVC failures often come back because the repair did not address the cause. Common reasons include improper solvent welding, misaligned joints that stress the pipe, or a system that runs above the pipe's pressure rating. Temperature swings also expand and contract PVC more than metal, loosening fittings over time. If the same joint leaks twice, the pipe section usually needs replacement rather than another patch. A licensed plumber can check whether water pressure, pipe support, or installation quality is driving the recurring pipe leaks.
How can I prevent plumbing pipes from leaking again?
Build a maintenance routine around inspection, pressure control, and insulation. Check visible pipes monthly for moisture, corrosion, or cracks. Test household water pressure with a gauge; readings above 80 psi stress joints and fittings. Insulate pipes in unheated spaces and winterize outdoor lines before the first freeze. Fix dripping faucets and showerheads promptly, and avoid pouring grease or oils down drains. Schedule a professional inspection every 12 to 18 months to catch pipe degradation before it becomes an emergency repair.
When should I call a plumber for a recurring pipe leak?
Call a licensed plumber when the same pipe leaks more than once, when you see corrosion or cracked pipes, or when water pressure drops without explanation. Also call if a leak returns within weeks of a repair, if you smell musty odors near walls, or if your water bill spikes. Recurring pipe leaks often signal deeper issues like pipe material failure or root intrusion. A professional inspection with leak detection tools can find the source and recommend repair or replacement before water damage spreads.
A recurring leak is rarely bad luck. It is a signal that the pipe, the pressure, or the installation needs real attention. Rich’s Plumbing Heating & Air Conditioning brings over 30 years of experience, 24/7 emergency service, and a 60-minute response time to every call. Get started with Rich’s Plumbing Heating & Air Conditioning and stop patching the same leak twice.