 how-to
5 Ways to Temporarily Fix a Burst Pipe
Table of Contents
- Step 1: How to Shut Off Your Main Water Valve
- Step 2: Drain Remaining Water and Contain the Leak
- 5 Temporary Repair Methods for Burst Pipes
- Emergency Pipe Repair Tools You Should Have on Hand
- When to Call an Emergency Plumber
- Water Damage Mitigation and Insurance Documentation
- Preventing Future Pipe Bursts
- Frequently Asked Questions
Last Updated: October 2, 2026
Step 1: How to Shut Off Your Main Water Valve
When you discover a burst pipe, knowing how to temporarily fix burst pipe situations starts with shutting off your main water supply immediately to stop flooding and assess the damage.
Your main water shut-off valve is usually located where the water line enters your house, check your basement, crawl space, near your water heater, or outside near the foundation.
Turn the valve clockwise (gate valve) or 90 degrees (ball valve lever) until water stops flowing.
Some homes have a secondary shut-off valve near the water meter as a backup if you can't operate the main valve.
Step 2: Drain Remaining Water and Contain the Leak
After shutting off the main water valve, drain remaining water from the pipes before attempting repairs.
Open the lowest faucets (basement or lowest floor) and run hot and cold taps until water stops, releasing pressure and draining the system.
Contain the leak by placing buckets under the pipe and wrapping towels around it to direct spray, protecting floors and walls.
Check for electrical hazards. If the burst pipe is near outlets, wiring, or the electrical panel, turn off power at the breaker box or call a professional.
5 Temporary Repair Methods for Burst Pipes
Once the main water is off and the area is contained, you can temporarily fix burst pipe issues by applying one of these repair methods. These methods buy time until a professional arrives and work best when matched to your pipe material.
Method 1: Pipe Repair Tape
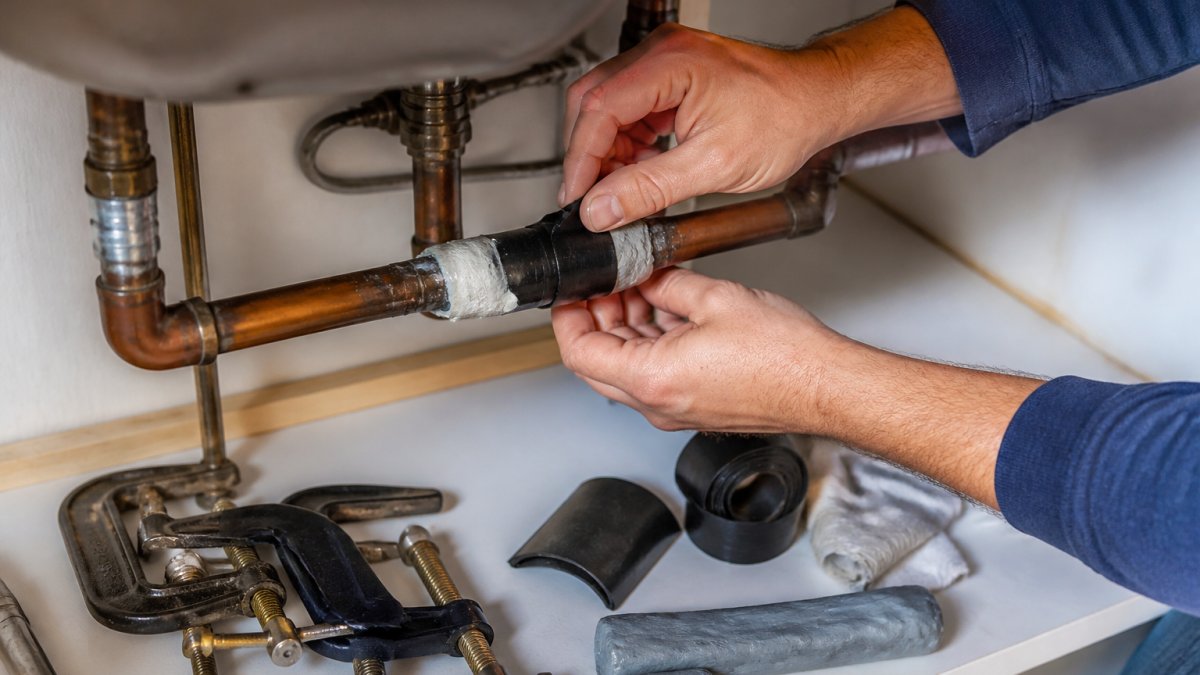
Pipe repair tape (self-fusing silicone tape) is the easiest temporary fix. Dry the burst area completely, then stretch the tape around the pipe, overlapping each layer by half the tape's width and wrapping at least 2 inches on each side of the burst.
Best for: Pinhole leaks and hairline cracks on copper, PVC, and PEX pipes. Tape adheres poorly to galvanized steel; for larger bursts, combine with another method.
Method 2: Epoxy Putty
Epoxy putty is a two-part compound you knead until uniform, then press firmly onto the dried burst area. Smooth it out and let it cure per package directions (usually 15-30 minutes).
Best for: Copper and metal pipes with small to moderate leaks. On PVC, curing is slower. On PEX, combine epoxy with a clamp to prevent cracking. Avoid on galvanized steel.
Method 3: C-Clamp with Rubber Patch
A C-clamp and rubber patch create mechanical pressure to stop leaks. Cut a rubber patch larger than the burst, place it over the burst, position a C-clamp over it, and tighten gradually until the leak stops.
Best for: Copper and PVC pipes on straight sections. Tighten gradually to avoid cracking PVC. Less effective on flexible PEX or curved sections where the patch won't sit flush.
Method 4: Hose Clamp Wrap
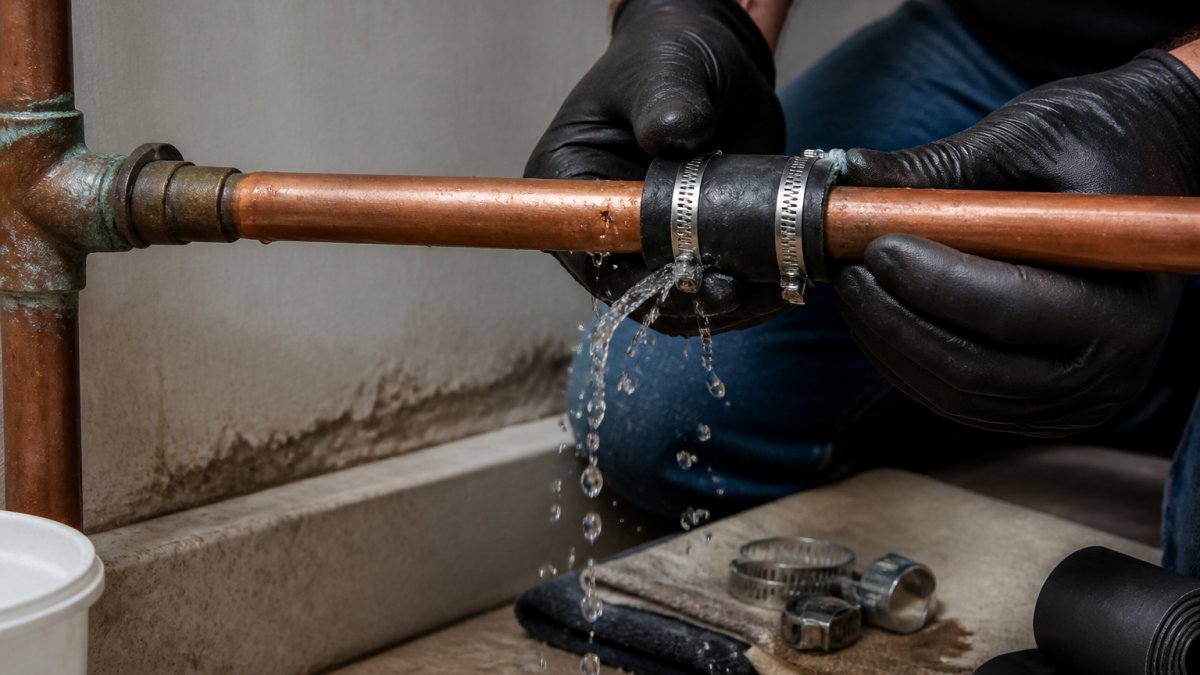
A hose clamp tightens around a pipe and compresses a rubber patch or cloth against the burst. Wrap rubber or cloth around the burst, slide the clamp over it, and tighten with a screwdriver.
Best for: All pipe materials (PEX, PVC, copper, galvanized steel). Hose clamps are the most versatile temporary fix, work on flexible and rigid pipes, and handle small to moderate leaks.
Method 5: Plumber's Epoxy or Waterproof Sealant
Commercial plumber's epoxy products are stronger than DIY putty and designed for pipe repairs. Follow product instructions for cleaning, priming, and application, then allow full curing before running water.
Best for: Copper and metal pipes with pinhole leaks and small cracks. On PVC, cure times are longer. On PEX, combine with tape or a clamp to prevent cracking.
Emergency Pipe Repair Tools You Should Have on Hand
Keep these items in your home emergency kit. They're inexpensive and take up little space.
- Pipe repair tape (self-fusing silicone)
- Epoxy putty or plumber's epoxy
- C-clamps (at least two, different sizes)
- Hose clamps (assorted sizes)
- Rubber patches or old inner tubes
- Adjustable wrench
- Screwdriver set
- Bucket or container for catching water
- Towels or rags for drying pipes
- Flashlight or headlamp
Having these tools ready means you can act fast when a pipe bursts. Speed reduces water damage.
When to Call an Emergency Plumber
Call a professional plumber immediately if the burst is large, spraying forcefully, near electrical wiring, your water heater, or in a wall or ceiling. Temporary patches on hidden pipes can fail, causing hidden water damage.
At Rich's Plumbing Heating & Air Conditioning, our team responds to burst pipe emergencies within 60 minutes. We assess the damage and apply permanent repairs. Our licensed plumbers handle burst pipes on all materials, copper, PVC, galvanized steel, and more. We offer emergency service because pipe bursts don't wait for business hours.
Water Damage Mitigation and Insurance Documentation
A burst pipe causes more than just the leak; it damages walls, floors, insulation, and belongings. Start mitigation immediately to reduce losses, and document everything systematically for your insurance claim.
Immediate Mitigation Steps
Move items away from the water. Remove wet rugs, furniture, and boxes to a dry area. Turn off electricity to wet areas if it's safe to do so, flip the breaker switch rather than touching wet outlets. Open windows and doors to increase air circulation. If you have a dehumidifier or can rent one, use it to remove moisture from the air. Wet drywall and insulation can develop mold within 24 to 48 hours, so speed matters (the CDC).
Place fans to direct air across wet surfaces. If the burst is in a basement, consider a sump pump or wet-dry vacuum to remove standing water. Do not let water sit; every hour increases the risk of structural damage and mold. Swift action remains the most effective defense against long-term water damage restoration, so follow these steps to stop water from a burst pipe before the saturation spreads further.
Step-by-Step Insurance Documentation
Contact your homeowner's insurance company within 24 hours of discovering the burst. Most policies require prompt notification. Have your policy number and a description of what happened ready.
Photograph and video the damage in this order:
Tap to easily schedule service today! →
-
The burst pipe itself. Take close-up photos of the actual break or hole. Photograph it from multiple angles. If water is still dripping, capture that in a video, it shows the active leak. This is your proof of the cause.
-
Water pooling and saturation. Photograph wet floors, wet walls, and water stains. Take wide shots showing the extent of the affected area. Video a slow pan across the room to show the full scope of damage.
-
Damaged materials. Photograph wet drywall, soggy insulation, warped flooring, and damaged baseboards. Close-ups of water stains on walls and ceilings. These images document the secondary damage caused by the burst.
-
Damaged personal property. Photograph wet furniture, ruined boxes, damaged electronics, wet clothing, and any other belongings affected. Include items that were near the burst but not directly wet, water can damage items through proximity and humidity.
-
Structural elements. If the burst damaged joists, beams, or the foundation, photograph these. Water damage to structural components increases claim value and may require professional restoration.
Record details in each photo:
Write down the date, time, and location of each photo. Note the room name, the pipe material (copper, PVC, PEX, galvanized), and the pipe's location (under sink, in wall, in basement, etc.).
Create a damage inventory:
List every item damaged or affected. Include:
- Item description (e.g., "leather sofa, brown, 7 years old")
- Approximate original cost or replacement cost
- Current condition (e.g., "soaked, unusable")
- Photo reference (note which photo shows this item)
For high-value items like electronics, appliances, or furniture, include the brand, model, and purchase date if you have it.
Receipts and Proof of Loss
Save every receipt for temporary repairs, cleanup supplies, and restoration work:
- Receipts for pipe repair materials (tape, epoxy, clamps)
- Receipts for buckets, towels, and cleanup supplies
- Invoices from your plumber for the emergency service call
- Quotes or invoices from water damage restoration companies
- Receipts for dehumidifier rentals or fan purchases
- Receipts for replacing damaged items
Keep these organized in a folder (physical or digital) with your photos and inventory list. Insurance adjusters review these documents to determine your payout.
Working with the Insurance Adjuster
When the adjuster visits, walk them through the damage in person. Point out the burst pipe, show them the affected areas, and explain the sequence of events. Provide your photo documentation and inventory list. Answer questions about when you discovered the burst, what you did immediately, and what temporary repairs you applied.
Most homeowner's policies cover sudden, accidental pipe bursts (Water Damage: Whats Covered; Whats Not). Damage from lack of maintenance, gradual leaks, or neglect may not be covered. If the adjuster questions coverage, ask for the specific policy language that applies to your situation.
Timeline for Claims
File your claim within 30 days of the incident if possible. Most insurers have a deadline for filing, check your policy. Provide all documentation (photos, inventory, receipts, and adjuster report) within 60 days.
Keep detailed records of all communication with your insurer: dates, names of representatives you spoke with, and what was discussed. This creates a clear record if disputes arise.
Preventing Future Pipe Bursts
The best approach is prevention. Burst pipes are often avoidable with proper maintenance and awareness.
Insulate pipes in unheated areas like basements, attics, and crawl spaces.
Keep your home heated during winter.
Drain outdoor faucets and hoses before winter.
Have your plumbing inspected annually.
Know where your main water shut-off valve is located.
Monitor water pressure. High water pressure stresses pipes and causes premature failure.
A burst pipe is stressful, but quick action limits the damage. Shut off the main water valve, drain the system, and apply one of the temporary repair methods above. These steps buy you time until a professional arrives. Rich's Plumbing Heating & Air Conditioning's licensed plumbers are ready to provide permanent repairs and address water damage. With our 60-minute response time and 100% satisfaction guarantee, you can trust us to handle your plumbing emergency with expertise and care. Contact Rich's Plumbing Heating & Air Conditioning to schedule emergency service today.
Frequently Asked Questions
Can you temporarily fix a burst pipe with duct tape?
Duct tape is not recommended for burst pipes because it doesn't create a watertight seal and deteriorates quickly when wet. Pipe repair tape, epoxy putty, or rubber patches with C-clamps are far more reliable temporary solutions. Duct tape may work for minor drips, but a burst pipe requires methods that withstand water pressure and last long enough until a professional plumber can make a permanent repair.
How long will a temporary pipe patch last?
Most temporary fixes for burst pipes last between 24 hours and a few weeks, depending on the method and water pressure. Epoxy putty typically holds for several days to weeks, while pipe repair tape may fail sooner under high pressure. These solutions are emergency measures only. You should contact a professional plumber immediately to schedule a permanent repair. The longer you wait, the greater the risk of water damage to your home.
What should I do immediately after discovering a burst pipe?
First, locate and shut off your main water valve to stop water flow. Then drain remaining water from the pipes by opening faucets and bleeding the system. Contain the leak with buckets or towels to minimize water damage. Once water flow is stopped, you can apply a temporary repair method like epoxy putty or pipe repair tape. Finally, document the damage with photos for your insurance claim and call a professional plumber for emergency repairs.
When should I call an emergency plumber instead of attempting a temporary fix?
Call an emergency plumber immediately if the burst is on a main water supply line, if you cannot locate the shut-off valve, if multiple pipes are damaged, or if water is affecting electrical systems or structural areas. Large bursts that cause significant flooding also warrant professional help right away. Temporary fixes are only for small to moderate bursts where you can safely control the water and the damage is limited. When in doubt, contact a licensed plumber, waiting risks extensive water damage and mold growth.