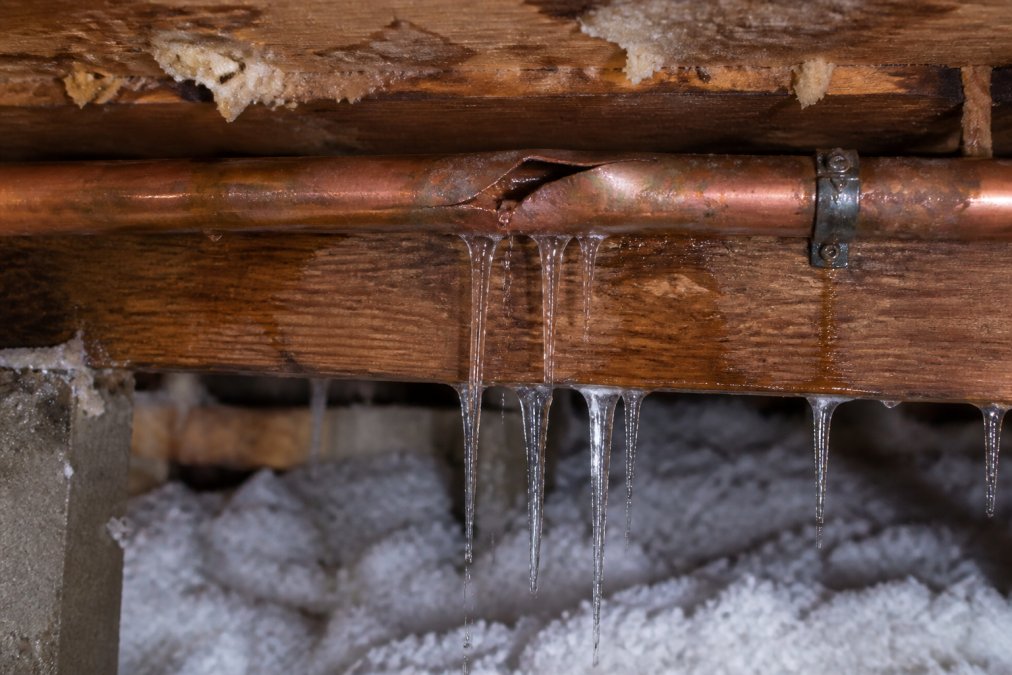
 how-to
What to Do If Pipes Burst in Winter: Emergency Steps
Table of Contents
- Immediate Actions When Pipes Burst in Winter
- How to Shut Off the Main Water Valve
- Identifying Signs of a Burst Pipe in Walls
- Thawing Frozen Pipes Safely
- Managing Water Damage and Cleanup
- Preventing Frozen Pipes in Winter
- When to Call a Licensed Plumber
- Frequently Asked Questions
Last Updated: September 23, 2026
Immediate Actions When Pipes Burst in Winter
A burst pipe demands immediate action. Shut off your main water supply first to stop water flow and prevent flooding.
Open all cold water faucets to drain remaining water and relieve pressure. Turn off your water heater to prevent energy waste and damage.
Open cabinet doors under sinks for air circulation. Move stored items away and place buckets or towels under active sprays to contain water.
Document everything with photos and video. Capture the burst pipe, water damage, and affected areas from multiple angles. This documentation is essential for insurance claims. Start a list of all damaged items and materials for your claim.
How to Shut Off the Main Water Valve
Locate your main water shut-off valve before an emergency. Most homes have it in the basement near the water line entry; others have it in a utility closet, crawl space, or meter box.
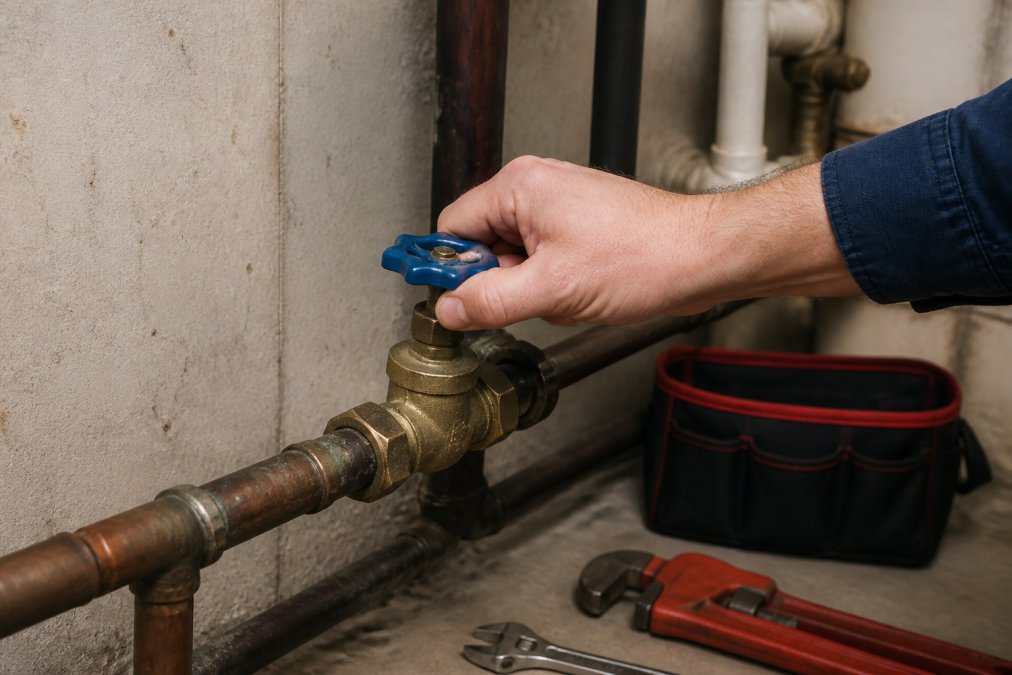
The valve is a round knob or lever handle. Turn it clockwise until it stops, do not force it. You'll feel resistance when fully closed.
For a lever-style shut-off, push it perpendicular to the pipe until it reaches a 90-degree angle.
After shutting off the main valve, test it by turning on a faucet. Water should stop flowing within seconds. If water still comes out, the valve may be stuck or faulty. Call a licensed plumber immediately. Call a licensed plumber immediately.
Identifying Signs of a Burst Pipe in Walls
Listen for running water sounds when no faucets are open, hissing or flowing noises from behind walls or under floors indicate a hidden burst.
Look for water stains on ceilings, walls, or floors, and check for soft, spongy spots in drywall or flooring.
Check your water meter: turn off all faucets and appliances, wait 30 minutes, then check the reading. A change indicates a leak.
Musty or moldy odors indicate hidden moisture in walls. Mold grows quickly in damp cavities.
Weak pressure at one fixture while others are normal suggests a localized burst upstream.
Thawing Frozen Pipes Safely
If freezing caused the burst, thaw it safely. Never use open flames, blowtorches, or propane heaters on pipes.
Safe Thawing Methods
Use a hair dryer on medium heat, moving it back and forth 6 inches from the pipe for 20-30 minutes.
Wrap the pipe with hot-water-soaked towels, changing them every few minutes for 30-45 minutes.
Place a space heater in the room, keeping it at least 3 feet from combustible materials.
Raise your thermostat to 75-80°F and keep interior doors open to warm all rooms.
Temporary Emergency Repair Techniques
If the thawed pipe is cracked or burst, temporary repairs can stop the leak until professional repair is available.
Pipe repair tape (self-fusing silicone tape): Pipe repair tape: Turn off water, dry the area completely, then stretch and wrap the tape around the pipe, overlapping 50%, for 3-4 layers. Allow 24 hours to cure. Works on copper, PVC, and PEX for pinhole leaks and small cracks only; lasts 1-3 months.
Epoxy putty: Epoxy putty: Turn off water, knead the putty until uniform, press firmly over the damage, smooth with a wet finger, and allow to cure per package instructions (1-24 hours). Works on copper, steel, and PVC; lasts weeks to months. Do not use on PEX.
Tap to easily schedule service today! →
Compression clamps (pipe repair clamps): Compression clamps: Turn off water, center the gasket over the damage, tighten bolts evenly without over-tightening, then slowly restore water and check for leaks. Available for 1/2-2 inch pipes; seal for several months and are reusable.
When Temporary Repairs Are Appropriate
Temporary repairs buy time if a plumber cannot arrive immediately, but they are not permanent solutions. Use temporary repairs only if:
- The burst is small (less than 1/4 inch) or a hairline crack.
- You cannot reach a licensed plumber within 24 to 48 hours.
- The leak is manageable with temporary containment (buckets, towels).
- You have a confirmed appointment for professional repair within 1 to 2 weeks.
Do not rely on temporary repairs for more than a few weeks. Water pressure, temperature fluctuations, and material fatigue will eventually cause temporary seals to fail. Schedule professional repair as soon as possible.
Materials to Keep on Hand
Assemble an emergency kit: self-fusing tape ($5-$15), epoxy putty ($3-$8), compression clamps ($15-$40), wrench, towels, buckets, flashlight, and marker. Store in an accessible, labeled location.
Managing Water Damage and Cleanup
Remove standing water immediately using a wet vacuum and towels. Speed prevents damage and mold growth.
Immediate Water Removal and Drying Protocol
Run fans, open windows, and use dehumidifiers continuously for 3-5 days until completely dry. Keep humidity below 50% to prevent mold.
Remove wet drywall, insulation, and carpet. Move salvageable furniture to a dry area and wipe hard surfaces. Place towels under wood items to absorb moisture from below.
Clean surfaces with a bleach solution (1 cup bleach per gallon water). Wear gloves, ensure ventilation, and focus on baseboards and the bottom 12 inches of drywall.
Post-Burst Mold Prevention Checklist
Mold grows within 24-48 hours (the CDC). Within 24 hours: remove wet carpeting and insulation, cut drywall 12 inches above the water line, open wall cavities for air circulation, and place moisture-absorbing materials. Days 2-5: keep humidity below 50%, run dehumidifiers and fans 24/7, and inspect daily for mold. After drying: apply mold-inhibiting primer, replace wet insulation, and ensure proper drainage around your home.
Insurance Documentation for Maximum Claim Recovery
Contact your insurance company within 24 hours. Documentation quality directly affects claim approval and payout.
Photography and video: Document the burst pipe from multiple angles, all water damage, damaged items before removal, and the drying process. Record video walkthroughs narrating the damage and timeline.
Itemized inventory: List every damaged item with description, age, and replacement cost. Include drywall, flooring, and insulation. Gather receipts and quotes for replacements.
Supporting documentation: Gather receipts for emergency supplies, contractor quotes, pre-burst photos, utility bills showing usage spikes, and plumber communications.
Adjuster interaction:
- Be present during the adjuster's inspection. Point out all damage and explain the timeline of events.
- Provide copies of your documentation package (photos, video, inventory, receipts) to the adjuster in person or via email.
- Ask the adjuster to clarify what is and is not covered under your policy. Some policies have separate limits for water damage, mold remediation, and structural repairs.
- Request a detailed written estimate from the adjuster before repairs begin. This prevents disputes about what should have been covered.
- Keep all receipts and invoices from repairs and restoration work. Your insurer may require these to process the claim.
Preventing Frozen Pipes in Winter
Freezing causes most winter pipe bursts. Preventing frozen pipes protects your home from costly damage. Insulate pipes in unheated spaces like basements, attics, and crawl spaces. Foam pipe insulation sleeves slide over pipes and provide excellent protection. These sleeves are inexpensive and easy to install, just wrap them around the pipe and secure with tape.
Open cabinet doors under sinks during extremely cold weather. This allows warm air from inside the house to reach pipes underneath. Even a few degrees of temperature difference prevents freezing.
Seal cracks and holes in exterior walls, foundations, and crawl spaces. Cold air entering through these gaps freezes nearby pipes. Use caulk or weatherstripping to seal gaps.
| Prevention Method | Difficulty | Cost | Effectiveness |
|---|---|---|---|
| Pipe insulation sleeves | Easy | Low | High |
| Sealing air leaks | Moderate | Low | High |
| Thermostat management | Easy | None | High |
| Allowing drips | Easy | None | Moderate |
| Draining outdoor lines | Easy | None | High |
When to Call a Licensed Plumber
Some situations require professional help immediately. If you cannot locate your main water shut-off valve or it won't turn, call a licensed plumber right away. Water continues flowing and damage accelerates every minute you delay.
Frequently Asked Questions
At what temperature will pipes burst?
Pipes typically freeze at 32°F, but they don't burst immediately. Most burst when water inside freezes and expands, which can happen within hours of freezing conditions. Pipes in uninsulated areas, exterior walls, or attics are at highest risk during sustained temperatures below 20°F. Insulation and heat tape can protect vulnerable sections of your plumbing system.
Should I turn off the main water valve if a pipe bursts?
Yes, immediately. Shutting off the main water supply stops water from flowing through the burst section and prevents additional water damage to your home. Locate your main water shut-off valve (usually near the water meter or where the supply line enters your home) and turn the handle clockwise. This is your first critical step before calling a licensed plumber for emergency repair.
How do I stop my pipes from bursting in cold weather?
Prevent frozen pipes by insulating exposed water supply lines with pipe wrap or insulation sleeves, especially in basements, attics, and exterior walls. Let faucets drip slowly during freezing temperatures to maintain water pressure relief. Keep cabinet doors open under sinks to allow warm air circulation. Maintain your thermostat above 55°F, even when away. Seal air leaks around pipes and consider heat tape for especially vulnerable areas. These steps significantly reduce the risk of pipe rupture.
Will homeowners insurance cover a pipe burst?
Most homeowners insurance policies cover sudden, accidental pipe bursts and resulting water damage, but coverage varies. Damage from lack of maintenance or negligence (like failing to heat an uninsulated vacation home) is typically not covered. Document all damage with photos and keep receipts for repairs and cleanup. Contact your insurance agent immediately after discovering a burst to understand your specific coverage and file a claim promptly.