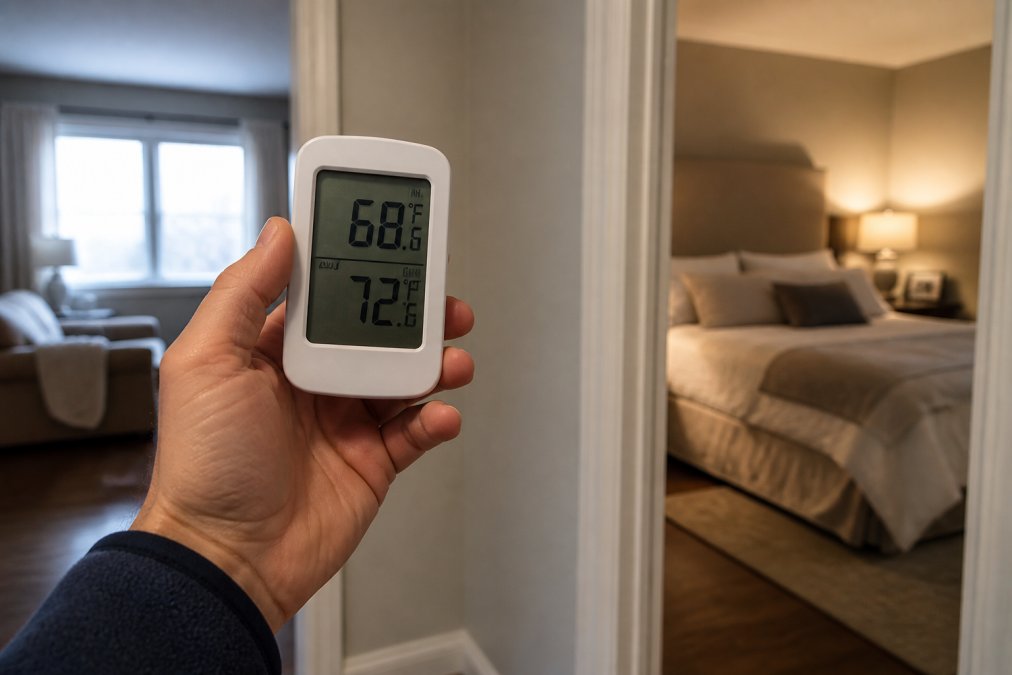
 how-to
How to Fix Uneven House Temperatures: 7 Steps
Table of Contents
- Why Your House Has Uneven House Temperatures
- Step 1: Check and Adjust Your Air Registers and Vents
- Step 2: Inspect Your Ductwork for Leaks and Damage
- Step 3: Learn How to Balance HVAC Dampers
- Step 4: Verify Thermostat Placement and Calibration
- Step 5: Replace Your Air Filter and Check Airflow
- Step 6: Improve Insulation and Seal Air Leaks
- When to Upgrade to HVAC Zoning System: Cost and Benefits
- Frequently Asked Questions
Last Updated: August 13, 2026
Why Your House Has Uneven House Temperatures
Uneven house temperatures are one of the most common complaints homeowners bring to HVAC professionals. One room feels like an icebox while another is uncomfortably warm. Most temperature imbalances stem from airflow distribution, ductwork efficiency, or how your home's physical structure interacts with heating and cooling, not from your HVAC system itself. At Rich's Plumbing Heating & Air Conditioning, we've spent over 30 years helping homeowners understand why their homes don't maintain consistent temperatures. Thermal comfort depends on multiple interconnected factors: your air registers, dampers, insulation, thermostat placement, and even ceiling fan direction.
The good news: most solutions don't require expensive system replacements. This guide walks you through seven actionable steps to identify and fix the root causes of uneven house temperatures. Some fixes take 15 minutes. Others require a professional diagnostic, but knowing what to look for puts you in control of the conversation.
Step 1: Check and Adjust Your Air Registers and Vents
Your air registers are the first line of control for directing heated or cooled air where you need it. Many homeowners don't realize these vents can be partially or fully closed, starving certain rooms of conditioned air while overloading others.
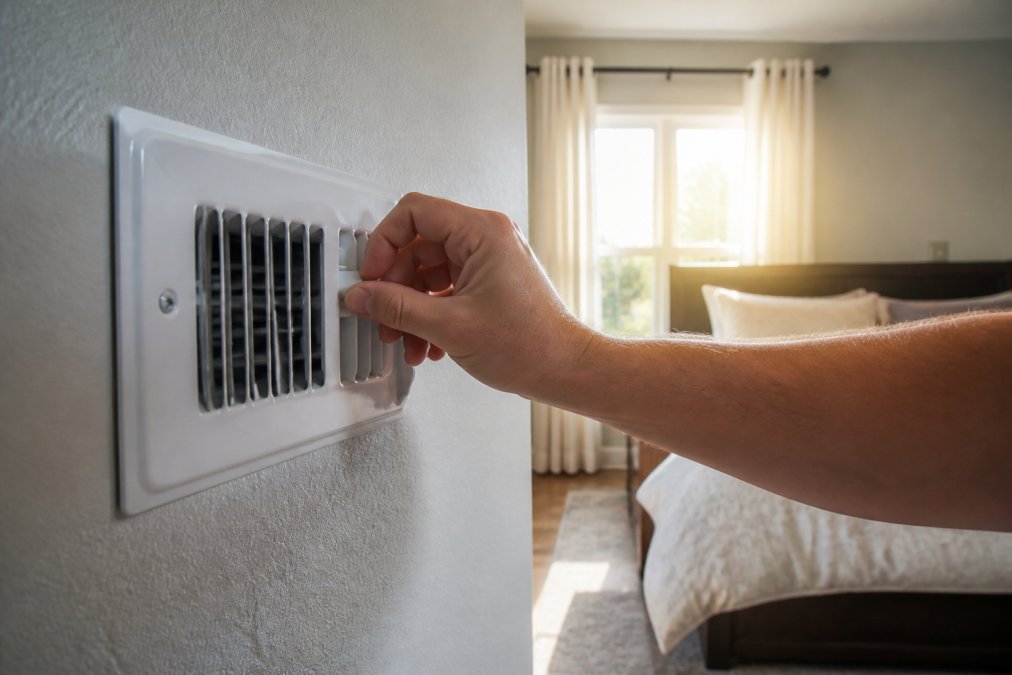
Walk through your home and check every register and vent opening. Look for registers blocked by furniture, curtains, or rugs, even partial obstruction disrupts airflow. Open any closed registers fully. Pay special attention to basement and attic registers; closed vents there can create pressure imbalances affecting your entire home's circulation.
In multi-story homes, upper-floor rooms often run hotter because hot air naturally rises. Slightly closing upstairs registers while opening downstairs ones helps balance this tendency. Closing registers in unused rooms actually disrupts the balanced pressure your HVAC system relies on and forces more air into other areas, creating uneven temperatures.
Test your adjustments over a few days. If a room still doesn't reach your target temperature after opening its registers, move to the next diagnostic step.
Step 2: Inspect Your Ductwork for Leaks and Damage
Your ductwork is the highway for conditioned air. If that highway has holes, air escapes before reaching its destination. Signs include rooms that won't reach your set temperature despite open registers, higher-than-normal energy bills, and inconsistent comfort throughout your home.
Access your ductwork by checking your attic, basement, or crawlspace. Look for visible damage: crushed sections, disconnected joints, or obvious holes. Pay attention to duct seams and connections where leaks commonly develop. You may see dust accumulation around leaks, indicating air is escaping.
Minor gaps can be sealed with mastic sealant or metal-backed duct tape designed for HVAC use. Do not use standard duct tape; it fails quickly. For crushed or severely damaged sections, professional replacement becomes necessary. Insulation around ductwork matters too, especially in unconditioned spaces like attics. Adding insulation wrapping to exposed ducts improves efficiency and temperature consistency.
If your ductwork shows signs requiring extensive work, or if you're uncomfortable accessing your attic or crawlspace, call a professional. A professional can perform a thorough ductwork inspection with specialized equipment to identify leaks you can't see.
Step 3: Learn How to Balance HVAC Dampers
HVAC dampers are movable plates inside your ductwork that control airflow to different zones or branches of your system. Balancing dampers means adjusting them so each area receives the right proportion of conditioned air.
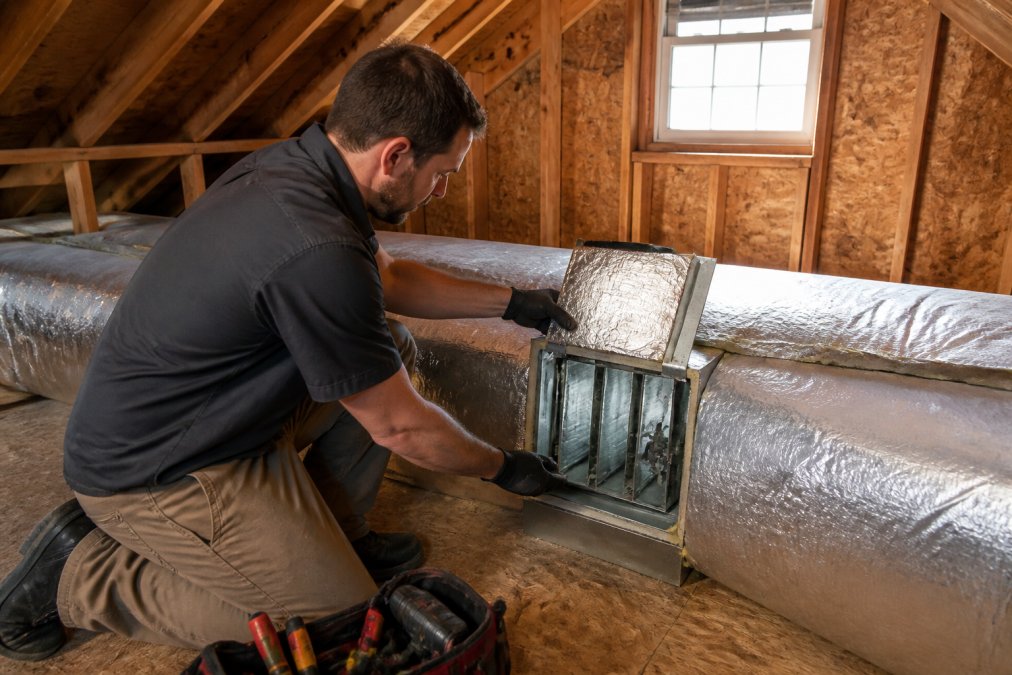
Locate your main return air duct and supply ducts, typically running through your basement, attic, or crawlspace. Look for dampers, they appear as levers or handles on the outside of ducts, or as sliding plates inside accessible duct sections. If a room is too cold, the damper serving that area is too open. If it's too hot, the damper is too closed.
Adjusting dampers involves small incremental changes. Move a damper slightly, wait 24 hours, then assess the temperature change. Make another small adjustment if needed. Document your damper positions by taking photos or writing down lever angles. This creates a baseline you can return to if adjustments make things worse.
If you're uncomfortable working in your attic or crawlspace, or can't locate your dampers, call a professional. Incorrect damper adjustment can create pressure imbalances that make your system work harder and use more energy.
Step 4: Verify Thermostat Placement and Calibration
Your thermostat is the brain of your HVAC system. If it's in the wrong location or miscalibrated, it makes poor decisions about when to run heating or cooling.
The ideal thermostat location is on an interior wall, away from direct sunlight, drafts, exterior walls, and heat sources like kitchens or appliances. If your thermostat sits near a window where afternoon sun heats it, it thinks your home is warmer than it actually is and stops cooling prematurely. If it's in a drafty hallway, it reads temperatures lower than the rest of your home and runs the system longer than necessary.
Check your thermostat's ambient temperature reading against a separate, accurate thermometer placed in the same room. If they differ by more than one degree, your thermostat may need recalibration. Some thermometers have a calibration procedure in their manual; others require professional adjustment.
Smart thermostats with room sensors offer an alternative approach. These systems use multiple temperature sensors placed in different rooms, then average the readings or prioritize specific zones, helping address uneven house temperatures by ensuring the system responds to actual conditions throughout your home.
If your thermostat placement is problematic, relocating it to a better position often solves significant temperature imbalance issues. This may require running new wiring, so professional installation is typically recommended.
Tap to easily schedule service today! →
Step 5: Replace Your Air Filter and Check Airflow
A clogged air filter restricts airflow, forcing your blower fan to work harder while delivering less conditioned air to your home. This creates uneven temperatures because some rooms receive adequate airflow while others get starved of air.
Replace your air filter every one to three months, depending on your filter type and home conditions. A standard 1-inch filter needs replacement more frequently than a 4-inch or 5-inch filter. Homes with pets, smokers, or high dust levels require more frequent changes. Check your filter monthly; if it's visibly dirty, replace it.
After installing a fresh filter, observe your system's performance over a few days. Many homeowners are surprised how much a simple filter change improves temperature consistency. The blower fan now moves air more freely, delivering better circulation throughout your home.
If replacing the filter doesn't improve uneven house temperatures, check that your return air duct isn't blocked. Furniture, storage boxes, or closed doors can restrict return air flow, creating pressure imbalances. Ensure at least one return air opening per floor is unobstructed.
Step 6: Improve Insulation and Seal Air Leaks
Your home's insulation and air sealing directly affect temperature regulation. Poorly insulated walls, attics, and crawlspaces allow heat to escape in winter and enter in summer. Air leakage around windows, doors, electrical outlets, and gaps in your building envelope creates drafts and temperature swings.
Start with your attic. Inadequate attic insulation is one of the most common causes of uneven house temperatures in multi-story homes. Heat rises, so your upstairs bedrooms stay hot in summer while downstairs stays cool. Adding insulation to your attic floor reduces this temperature differential. The R-value you need depends on your climate zone; check local building codes or consult a professional.
Weather stripping around exterior doors and windows seals air leaks that create drafts. Caulk gaps around window frames and door frames. In basements and crawlspaces, seal gaps around rim joists with foam sealant or batt insulation. Heavy curtains or cellular shades also reduce heat gain through windows in summer and heat loss in winter.
Your HVAC system conditions air, but if that air escapes through gaps and leaks, or if exterior heat penetrates through poor insulation, your system can't maintain consistent temperatures. Sealing and insulating creates a tighter thermal envelope, allowing your system to work more efficiently.
When to Upgrade to HVAC Zoning System: Cost and Benefits
If you've completed all the previous steps and still experience significant uneven house temperatures, an HVAC zoning system may be the right solution. Zoning divides your home into separate areas, each with its own thermostat and damper controls. Your system then delivers different amounts of conditioned air to each zone based on its temperature needs.
A typical HVAC zoning system cost depends on the number of zones, your ductwork layout, and installation complexity. Systems typically range from $2,000 to $5,000 or more. Professional installation is essential because improper zoning can stress your HVAC system and reduce its lifespan.
Electronic dampers open and close based on zone thermostats, eliminating the guesswork of manual adjustment. This precision addresses the root cause of many temperature imbalance issues: your system can now respond independently to each area's needs. Zoning allows you to heat or cool only occupied areas, potentially reducing energy consumption.
Before investing in zoning, confirm your existing HVAC system can handle it. A professional assessment determines whether your current system is suitable or whether upgrades are needed.
Uneven house temperatures frustrate homeowners, but the solution rarely requires replacing your entire HVAC system. Most problems trace back to airflow distribution, ductwork efficiency, or your home's thermal envelope. Start with the simple checks, open registers, inspect ductwork, adjust dampers, before considering expensive upgrades.
When problems persist despite your efforts, or when you need professional-level diagnostics, Rich's Plumbing Heating & Air Conditioning brings 30 years of experience to the table. Our licensed technicians can perform a comprehensive evaluation of your HVAC system, ductwork, and home insulation to pinpoint exactly why your house has uneven temperatures. With our 60-minute response time and 100% satisfaction guarantee, we'll get your home comfortable again. Contact Rich's Plumbing Heating & Air Conditioning to schedule your diagnostic visit and take the first step toward consistent, comfortable temperatures throughout your home.
| Solution | Time to Implement | Difficulty Level | Cost Range |
|---|---|---|---|
| Check and adjust air registers | 30 minutes | Very Easy | Free |
| Inspect ductwork for leaks | 1-2 hours | Easy | Free to $200 (DIY sealant) |
| Balance HVAC dampers | 1-3 hours | Moderate | Free |
| Verify thermostat placement | 30 minutes | Easy | Free to $300 (relocation) |
| Replace air filter | 15 minutes | Very Easy | $15-$50 |
| Seal air leaks and improve insulation | 2-8 hours | Moderate | $100-$500 (DIY) |
| Install HVAC zoning system | Professional only | Complex | $2,000-$5,000+ |
Frequently Asked Questions
Can a dirty air filter cause uneven house temperatures?
Yes. A clogged air filter restricts airflow through your HVAC system, causing some rooms to receive less conditioned air than others. This creates hot and cold spots throughout your home. Replacing your air filter every 1 to 3 months (or as recommended by your system manufacturer) maintains proper airflow and helps maintain consistent temperature regulation across all rooms.
What are the signs of leaky air ducts affecting my temperature balance?
Watch for rooms that are consistently warmer or cooler than others despite thermostat adjustments, higher energy bills, visible dust around ductwork connections, or hissing sounds near ducts. Leaky air ducts lose conditioned air before it reaches your rooms, forcing your HVAC system to work harder and creating thermal imbalance. A professional HVAC technician can perform a blower door test or use thermal imaging to identify leaks.
How do I know if I need a professional HVAC technician for my uneven temperatures?
Call a professional if adjusting registers, replacing filters, and sealing obvious air leaks don't resolve the problem within a week. Also seek professional help if you suspect ductwork damage, need damper balancing assistance, or if your home is multi-story with significant temperature differences between floors. A licensed technician can diagnose static pressure issues, evaluate your HVAC system's capacity, and recommend zoning solutions or system upgrades.
What is an HVAC zoning system and how much does it cost?
An HVAC zoning system uses dampers and smart sensors to direct conditioned air to specific areas of your home independently. This solves uneven temperatures by letting you set different temperatures for different zones. Zoning system costs depend on your home's layout, ductwork configuration, and whether you add smart thermostats or room sensors. Contact a licensed HVAC professional for a free estimate tailored to your home's specific needs.