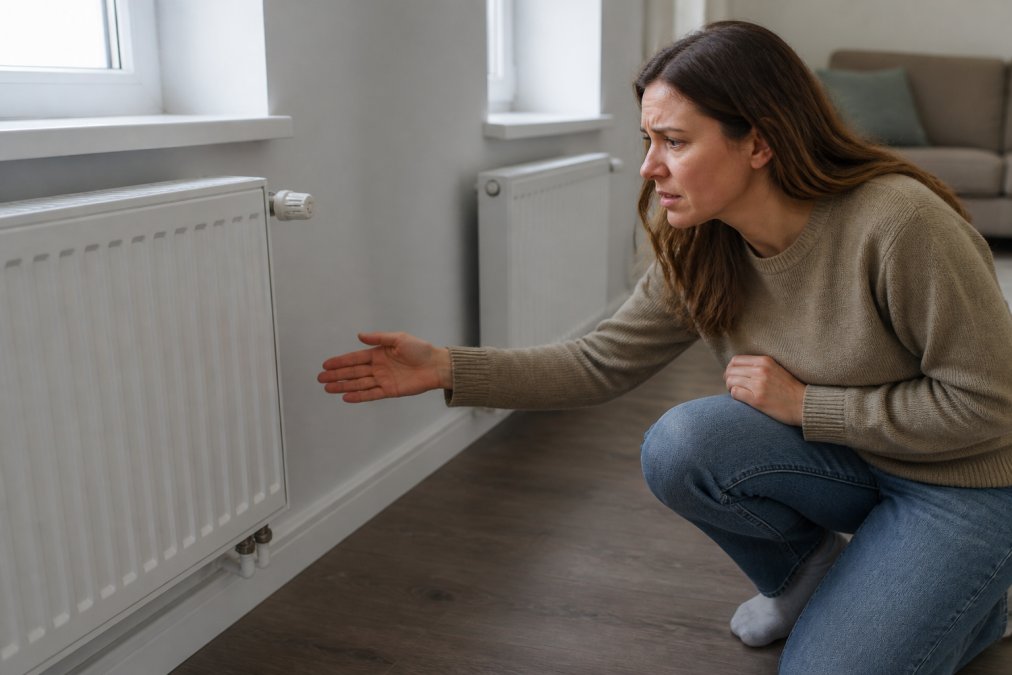
 how-to
How to Fix Uneven Heating: A 2026 Homeowner's Guide
Table of Contents
- Why Some Rooms Never Get Warm
- Step 1: Replace or Clean Air Filters
- Step 2: Check and Adjust Supply Vents and Returns
- How to Adjust HVAC Dampers to Balance Airflow
- Signs of Leaky Air Ducts You Should Not Ignore
- Step 5: Seal Air Leaks and Improve Insulation
- Step 6: Use Smart Thermostats and Sensor Placement
- Step 7: Bleed Radiators in Hydronic Systems
- Frequently Asked Questions
Last Updated: September 11, 2026
Why Some Rooms Never Get Warm
Uneven heating is the frustrating gap between what your thermostat promises and what your upstairs bedroom actually delivers. This guide from Rich's Plumbing Heating & Air Conditioning breaks down the real causes and the fixes that work, from a filter swap you can do today to the duct problems that need a pro. According to the U.S. Department of Energy's home heating guidance, heating accounts for the largest share of a typical home's energy use, which makes every degree of wasted warmth expensive.
The problem rarely comes down to a weak furnace. It comes from air that never reaches the room in the first place.
Multi-Story vs. Single-Story Temperature Swings
Warm air rises, so a two-story home naturally runs warmer upstairs and colder on the ground floor. Single-story homes deal with the opposite: distant rooms at the end of a long duct run lose heat before it arrives. A townhouse with shared walls adds its own quirks, since one side gains or loses heat through a neighbor's space rather than the outdoors.
The Real Causes of Uneven Heat Distribution
Most cold-room complaints trace back to a short list: a clogged air filter, blocked or closed vents, leaky ductwork, poor insulation, or a system that was never balanced in the first place. Find which one applies to your home before you spend money on a fix.
Step 1: Replace or Clean Air Filters
A dirty air filter is the most common and cheapest cause of uneven heating, but the reason it matters is mechanical, not cosmetic. When the filter loads up, the blower motor has to push against higher static pressure. The fan moves less air, and the rooms at the end of the longest duct runs are the first to go cold. That's why the upstairs bedroom and the far-end guest room are usually the complaint rooms, not the room above the furnace.
Read Your Filter Like a Diagnostic Tool
Check the filter monthly and replace it every one to three months, sooner if you have pets, run the system constantly, or live near construction or wildfire smoke (energy.gov). But don't just swap it on a schedule. Look at what comes out:
- Uniform gray dust: normal loading, airflow is fine.
- Matted, caked, or furry: the system is pulling heavy particulate, and static pressure has likely been elevated for weeks.
- Filter collapsed or bowed inward: the blower is overpowering the filter, a sign the filter's MERV rating is too high for the system's design.
- Filter looks clean but the system still underperforms: the restriction may be downstream, in the evaporator coil or ductwork, not the filter.
MERV Ratings and the Airflow Trade-Off
A higher MERV rating captures finer particles, but it also adds resistance. Most residential forced-air systems are designed around a filter in the MERV 8 to MERV 11 range (the EPA). Step up to MERV 13 or higher on a system not built for it, and you can recreate the exact uneven-heating symptom you were trying to fix, because the blower now fights the filter on every cycle.
If you want better filtration without choking airflow, the right move is usually a larger filter cabinet with a thicker media filter (4 to 5 inches instead of 1 inch), not a higher MERV number in the same slot. The thicker filter has more surface area, so it holds more dust at lower resistance.
A clean, correctly sized filter restores airflow and takes strain off the blower motor. If your filter looks gray and matted after a few weeks, that's your sign the whole system is working harder than it should.
Step 2: Check and Adjust Supply Vents and Returns
Walk every room and confirm the supply vents are open and unobstructed. A closed register in one room starves the rest of the system and throws off the whole balance.
Return vents matter just as much. A blocked return traps air in a room and prevents circulation, so the space never stabilizes. Keep returns clear of rugs, furniture, and curtains, and never cover a return to "redirect" heat. That just raises static pressure and pushes the problem elsewhere.
Furniture Placement and Airflow
Where you put the couch matters more than most homeowners realize. A sofa pushed against a supply vent deflects warm air straight into the wall, and a bed or bookshelf over a return chokes circulation for the entire room. Leave at least a foot of clearance around every vent and return, and rearrange anything that sits directly in the path of the airflow.
How to Adjust HVAC Dampers to Balance Airflow
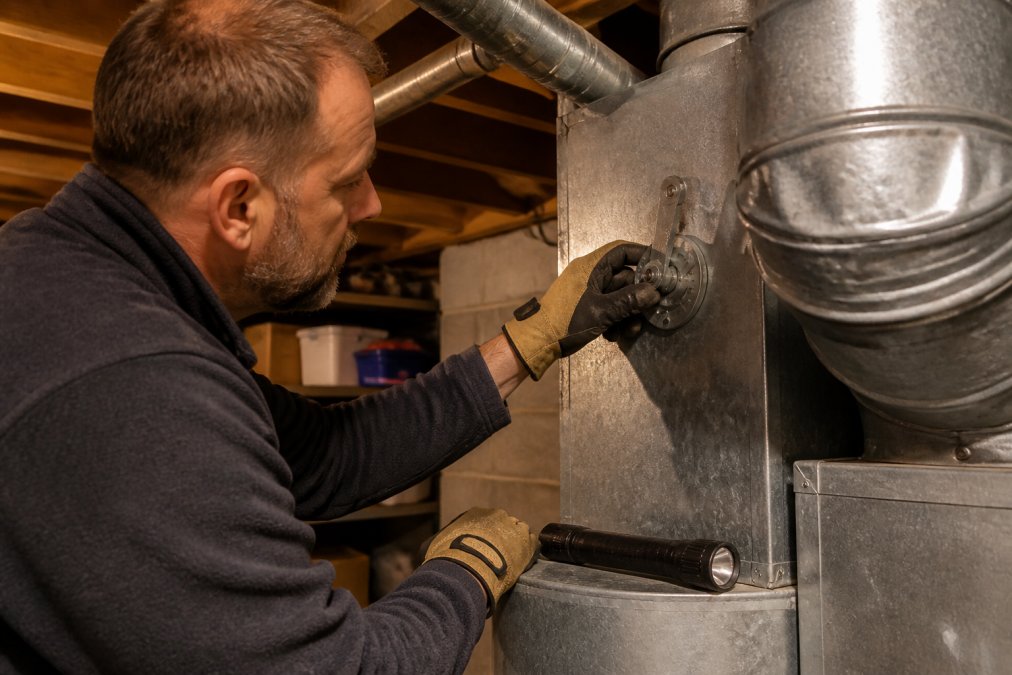
Dampers are the adjustable metal flaps inside your ductwork that control how much air reaches each branch. When you know how to adjust HVAC dampers, you can send more heat to the cold rooms and less to the warm ones.
Start by locating the damper handles near the main trunk line, usually in a basement or utility closet. Mark each handle's starting position with tape so you can undo your changes. Open the dampers feeding cold rooms fully, then partially close the ones serving rooms that already run hot. Make small adjustments, wait a day, and recheck the temperature differential before touching anything again.
Signs of Leaky Air Ducts You Should Not Ignore
Leaky ducts waste the heat you're already paying for, especially when they run through unconditioned spaces like attics, crawlspaces, and garages. Watch for these signs of leaky air ducts:
Tap to easily schedule service today! →
- Rooms closest to the furnace are warm while distant rooms stay cold
- Dust streaks or dark marks around duct joints and seams
- A whistling or hissing sound when the system runs
- Higher energy bills without a change in usage
- Visible disconnected or torn flexible duct in the attic
If you spot any of these, a technician can pressure-test the ductwork and seal the leaks at the source. A technician can pressure-test the ductwork and seal the leaks at the source.
Step 5: Seal Air Leaks and Improve Insulation
Your thermal envelope decides how much heat stays inside, but the order you fix it in matters as much as the fixes themselves. Air sealing comes first, insulation second. Adding insulation over an unsealed attic floor is like putting a blanket over a screen door: the air still moves, and the insulation just filters it.
Why Air Sealing Beats Insulation Alone
A typical home loses a surprising share of its conditioned air through the attic floor, not the walls. Recessed light cans, plumbing penetrations, top plates, and the gap around the chimney chase all leak warm air straight into the attic. In winter, that escaping warm air is replaced by cold air pulled in at the base of the house, which is why the first floor feels drafty while the upstairs stays warm. This is the stack effect, and it's the single biggest reason two-story homes run hot upstairs and cold downstairs.
Seal those attic-floor penetrations with caulk, spray foam, or rigid covers rated for contact with insulation. Then insulate. The U.S. Department of Energy publishes recommended R-values by climate zone, and for most attics that lands between R-38 and R-60. Walls typically target R-13 to R-21, and floors over unconditioned crawlspaces usually want R-25 to R-30.
Where to Look First
- Attic floor penetrations: recessed lights, exhaust fans, wiring holes, plumbing stacks.
- Top and bottom plates: where wall framing meets the attic floor or basement ceiling.
- Chimney and flue chases: often open straight through the house.
- Rim joists and band boards: a common leak path at the top of the basement wall.
- Windows and doors: weatherstrip and caulk, but treat these as secondary to attic and rim leaks.
The Multi-Story Angle
If you live in a two-story home, the stack effect means the upstairs is fighting a constant supply of warm air rising from below, and the downstairs is fighting a constant supply of cold air being pulled in. Sealing the attic floor slows that loop. Sealing the basement rim joist slows it from the other end. Do both, and the temperature gap between floors typically narrows without touching the thermostat.
Improving home insulation reduces heat loss and heat gain, which evens out room-to-room temperatures without touching the thermostat. But if you only do one, do the air sealing.
Step 6: Use Smart Thermostats and Sensor Placement
A smart thermostat with remote sensors fixes the "thermostat is in the wrong room" problem. The unit reads temperature where you actually live, not just at the wall it's mounted on.
Place sensors in the rooms that run cold, and avoid spots near direct sunlight, lamps, or supply vents, since those readings skew the system. Thermostat calibration matters too: a unit reading two degrees off will keep the whole house off-balance. If your system was never zoned, a zoning system with motorized dampers lets you control upstairs and downstairs separately, which solves multi-story swings at the source.
Step 7: Bleed Radiators in Hydronic Systems
If your home uses radiators instead of forced air, trapped air is the usual culprit behind cold rooms. Air pockets block hot water from filling the radiator, so it stays cool even when the boiler is running.
Turn off the system, then open the bleed valve at the top of each radiator with a radiator key until water trickles out steadily. Work from the lowest floor up, and top up the boiler pressure afterward if your system requires it. Bleeding radiators restores full heat output and is one of the simplest fixes in a hydronic home.
Uneven heating usually comes down to airflow, not a failing system, and most of the fixes above cost little more than an afternoon. When the problem runs deeper, leaky ducts, a failing blower motor, or a system that needs rebalancing, Rich's Plumbing Heating & Air Conditioning can diagnose it fast. Our family-owned and operated team is dedicated to delivering fast, reliable service with a 60-minute response time for your urgent needs. We prioritize your comfort and satisfaction by offering high-quality installations, maintenance, and emergency repairs backed by a 100% satisfaction guarantee. Trust our licensed and insured professionals to handle your home's essential systems with the care and expertise you deserve.
Frequently Asked Questions
What does uneven heating mean?
Uneven heating means some rooms in your home reach the thermostat's set temperature while others stay noticeably cooler or warmer. It is usually caused by airflow problems, not a failing furnace. Common culprits include clogged air filters, closed or blocked supply vents, leaky ductwork, or a system that was never balanced for your home's layout. A room-by-room temperature check with a thermometer can confirm the difference before you call a technician.
Can I balance my own HVAC system?
You can handle several balancing tasks yourself. Start by replacing the air filter, opening all supply and return vents, and adjusting the damper handles on branch ducts to push more air toward cold rooms. Keep furniture and rugs away from vents. If temperatures still swing more than a few degrees after these steps, the issue may be duct leakage or static pressure that requires a licensed HVAC technician with a manometer to diagnose.
How do I know if my HVAC ducts are leaking?
Watch for these signs of leaky air ducts: higher energy bills without a change in usage, dust streaks around vent edges, whistling or rattling sounds when the blower runs, and rooms that never match the thermostat. You may also notice stuffy air or uneven humidity. A professional can run a duct blaster test to measure leakage. Sealing accessible leaks with mastic or foil tape is a common first fix.
When should I call a professional for heating issues?
Call a licensed technician if you have checked the filter, opened all vents, and adjusted dampers but still have rooms that are more than a few degrees off. Other red flags include a furnace that short-cycles, strange banging or squealing noises, a blower motor that runs constantly, or any gas smell. A pro can measure static pressure, inspect the heat exchanger, and confirm whether your system needs repair, rebalancing, or replacement.