 how-to
Heater Dripping Water? 7 Steps to Stop the Leak Fast
Table of Contents
- Is It a Leak or Condensation? How to Tell
- Safety First: Shut Off Water and Power
- Common Causes of Heater Dripping Water
- Check These Components: Drain Valve, T&P Valve, and Pipe Connections
- Signs Your Tank Is Failing and When to Replace
- Age-Based Decision Matrix: Repair vs. Replace
- Average Cost to Replace HVAC and Water Heater Systems
- Conclusion
- Frequently Asked Questions
Last Updated: September 15, 2026
Is It a Leak or Condensation? How to Tell
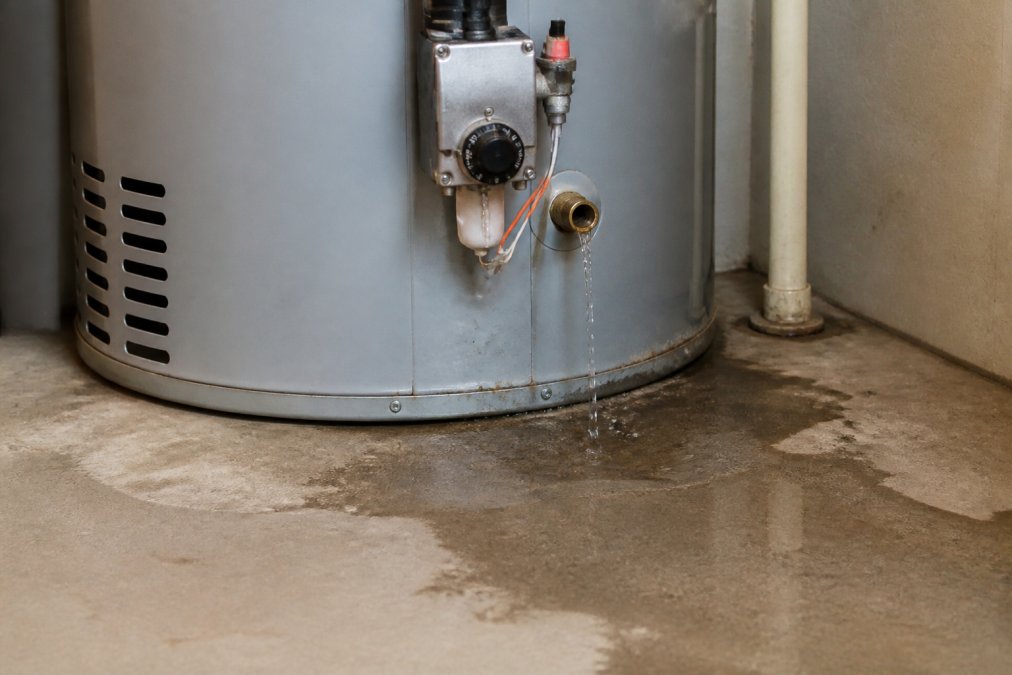
A heater dripping water is not always a plumbing failure. Before you panic, confirm whether you are looking at condensation or an actual leak. The distinction matters because it determines whether you need a wrench or a service call.
Condensation is water vapor that forms when a cold surface meets warm, humid air. It typically appears on the tank exterior, pipes, or venting during cold weather or high humidity. A leak, by contrast, originates from a failed component and will worsen over time.
Here is how to tell them apart quickly:
- Condensation: thin film of moisture, no pooling, dries when humidity drops
- Leak: visible drips, puddles forming, water stains that grow
- Condensation: appears on cold surfaces only
- Leak: appears at joints, valves, or the tank base
If you wipe the area dry and moisture returns within an hour, you have a leak. If it stays dry until the next humid day, you are dealing with condensation.
At Rich's Plumbing Heating & Air Conditioning, we field calls daily from homeowners who mistake one for the other. Knowing the difference saves you money on unnecessary repairs.
Safety First: Shut Off Water and Power
Before you touch anything, shut off the water and power. This is the step most homeowners skip, and it is the one that prevents injuries and property damage.
For electric heaters: Turn off the breaker at your electrical panel. Do not rely on the thermostat alone.
For gas heaters: Turn the gas control knob to "pilot" or "off." Do not shut off the gas supply line unless you smell gas.
For all units: Close the cold water inlet shut-off valve, usually located on the pipe entering the top of the tank.
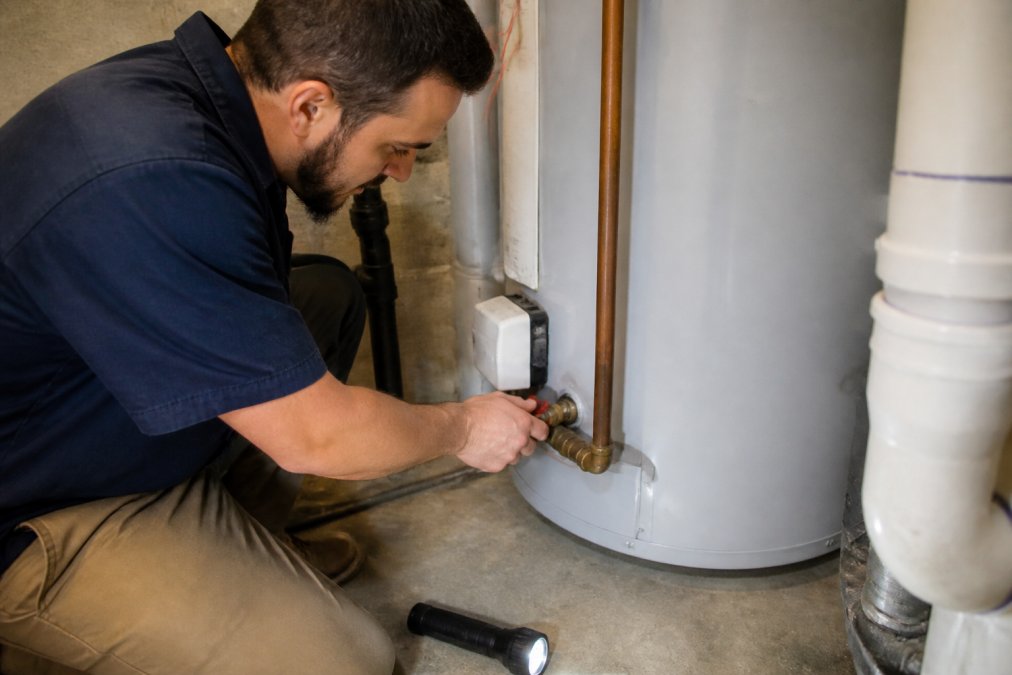
Once water and power are off, the system is safe to inspect. If you smell gas at any point, leave the house and call a licensed professional immediately.
Common Causes of Heater Dripping Water
Heater dripping water usually traces back to one of five sources. Identifying which one you have narrows the fix considerably.
- Loose drain valve - The most common cause. The valve at the tank base loosens over time.
- Failing temperature and pressure relief valve - The T&P valve releases water when pressure or temperature exceeds safe limits.
- Loose inlet or outlet pipe connections - Fittings vibrate loose or corrode.
- Sediment buildup - Minerals accumulate at the tank bottom, causing overheating and stress fractures.
- Internal tank corrosion - The tank itself has failed, which means replacement.
A temperature and pressure relief valve leaking often signals excess thermal expansion or a failing valve (energy.gov). This is a safety component, not a nuisance part. Do not cap it or plug it.
According to the U.S. Department of Energy's water heating guidance, sediment buildup reduces efficiency and shortens tank life, making annual flushing a worthwhile maintenance habit.
Tap to easily schedule service today! →
Check These Components: Drain Valve, T&P Valve, and Pipe Connections
Where the water is coming from tells you which component failed. Use this visual identification guide to match the drip location to the fix before you touch a wrench.
Visual Identification Guide: Match the Drip to the Source
| Where You See Water | Most Likely Source | First Check |
|---|---|---|
| Base of the tank, near the spigot | Drain valve | Tighten handle, inspect washer |
| Side or top brass fitting with a pipe running down | T&P valve | Lift lever briefly, watch for continued drip |
| Top of tank at threaded fittings | Inlet/outlet connections | Tighten, check for corrosion |
| Under the tank, spreading outward | Internal tank failure | Stop, replacement likely |
| On the floor near the burner compartment (gas) | Leaking tank seam or condensation | Dry and recheck in one hour |
| Streaks down the tank exterior | Condensation or slow seam leak | Wipe dry, observe |
Drain Valve Inspection
The drain valve sits at the bottom of the tank, usually a small spigot you would attach a garden hose to. A faulty drain valve often just needs tightening. Turn the handle clockwise a quarter turn. If it still drips, the valve washer may be worn and the valve needs replacing. A common pattern is a slow drip that leaves a mineral crust ring around the spigot, that crust is your confirmation the valve, not the tank, is the source.
Temperature and Pressure Relief Valve
The T&P valve is the brass fitting on the side or top of the tank with a discharge pipe running down toward the floor or a drain. Test it by lifting the lever briefly. If it keeps dripping afterward, sediment may be trapped under the seal, or the valve has failed. A temperature and pressure relief valve leaking under normal conditions usually means replacement. If water is actively streaming from the discharge pipe, that is a pressure or temperature event, shut the system down and call a professional.
Inlet and Outlet Connections
Check the cold water inlet and hot water outlet fittings at the top of the tank. Tighten any loose connections with a wrench. If corrosion is visible, green or white crust on copper, rust on steel, the fitting needs replacement, not just tightening. Dielectric unions between copper and steel are a frequent failure point because the two metals expand at different rates.
Signs Your Tank Is Failing and When to Replace
Some leaks cannot be repaired. A corroded tank is a terminal condition, and no amount of tightening will fix it. The key is distinguishing a failed component from a failed tank, because one is a $50 part and the other is a new appliance.
How a Tank Actually Fails
Steel tanks are lined with glass and protected by a sacrificial anode rod. The anode rod is made of magnesium or aluminum and corrodes before the tank lining does, that is its job. Once the anode is consumed, the tank lining becomes the sacrificial metal, and rust begins from the inside out. This is why a tank can look fine on the outside while rusting through at the base.
Many homeowners never replace it, which is why tanks fail earlier than their rated lifespan.
Warning Signs That Point to Tank Failure
- Rust-colored or metallic-tasting hot water (cold water runs clear)
- Visible rust streaks or moisture weeping from the tank shell itself
- Rumbling, popping, or banging during heating (sediment boiling under the burner or element)
- Water pooling at the tank base with no loose fitting above it
- A slow drip from the tank seam, not a valve or fitting
- Recurring leaks on a tank over 10 years old
Repair vs. Replace: A Quick Test
Ask three questions:
- Where is the water coming from? A valve or fitting is repairable.
Gas vs. Electric: Different Failure Modes, Different Safety Risks
When Replacement Is the Only Answer
Age-Based Decision Matrix: Repair vs. Replace
| Tank Age | Leak Source | Recommendation | Reasoning |
|---|---|---|---|
| Under 5 years | Loose valve or fitting | Repair | Tank is under warranty, components are serviceable |
| 5-8 years | T&P valve or drain valve | Repair | Valve replacement is inexpensive and effective |
| 8-10 years | Tank base or internal | Replace | Corrosion is likely advanced |
| Over 10 years | Any source | Replace | Past expected lifespan, repair rarely lasts |
| Any age | Gas smell or pilot issues | Call professional | Safety risk, requires licensed diagnosis |
Average Cost to Replace HVAC and Water Heater Systems
What drives the cost:
Conclusion
Frequently Asked Questions
Can I still use water if the water heater is leaking?
If the leak is minor and you've shut off power to the unit, you can use cold water only. But if the tank itself is leaking or you see standing water, turn off the main water supply to avoid flooding. For gas units, shut off the gas valve if you smell gas. Call a licensed plumber to assess the situation before using hot water again.
How do I tell the difference between condensation and a leak?
Condensation usually appears as moisture on the outside of the tank or pipes, often during cold weather or when the heater first runs. It dries up when the unit warms. A leak, however, leaves a constant puddle or drip that doesn't stop. Check for water trails leading to the tank; if the floor stays wet, it's likely a leak, not condensation.
Should I turn off the power if my water heater is leaking?
Yes, for electric heaters, shut off the breaker immediately to prevent electrocution. For gas units, turn the gas valve to 'off' if you suspect a gas leak. Even a small leak can cause electrical hazards. Once power is off, you can safely inspect the source or call a professional.
What are the first signs of a water heater going bad?
Early signs include popping or rumbling noises, rusty water, moisture around the base, and inconsistent hot water. A dripping temperature and pressure relief valve or a leaking drain valve also indicate trouble. If your heater is over 10 years old and shows these signs, start planning for replacement.